Oracle BI Publisher (BIP) Tips: Functions, Calculations & More
Author: Sherry Milad | | January 15, 2018
While working with one of our clients I was asked to conduct a knowledge transfer session on how to take over production support of their BI Publisher reports. So, I thought I would write up a quick guide and some tips and share the knowledge.
The version of Oracle BI Publisher used in this blog is Oracle BI Publisher 11.1.1.7.150120 and the data sources are Essbase and SQL Server. Now, since this is production support, things like preferences and data source connections have already been set up. But it is always good to go into your BI Publisher administration and test that all your data source connections are working before beginning.
Step 1: Data Source Connections
Login to BIPublisher and click on the Administration link at the top right of your page.
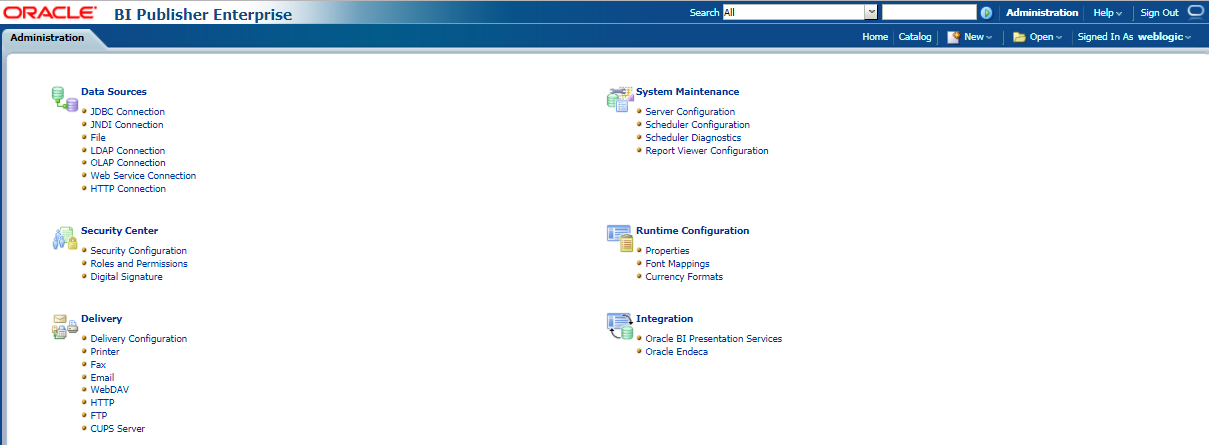
Under “Data Sources” identify what data sources you will be using for your data model and click on the required connection link.
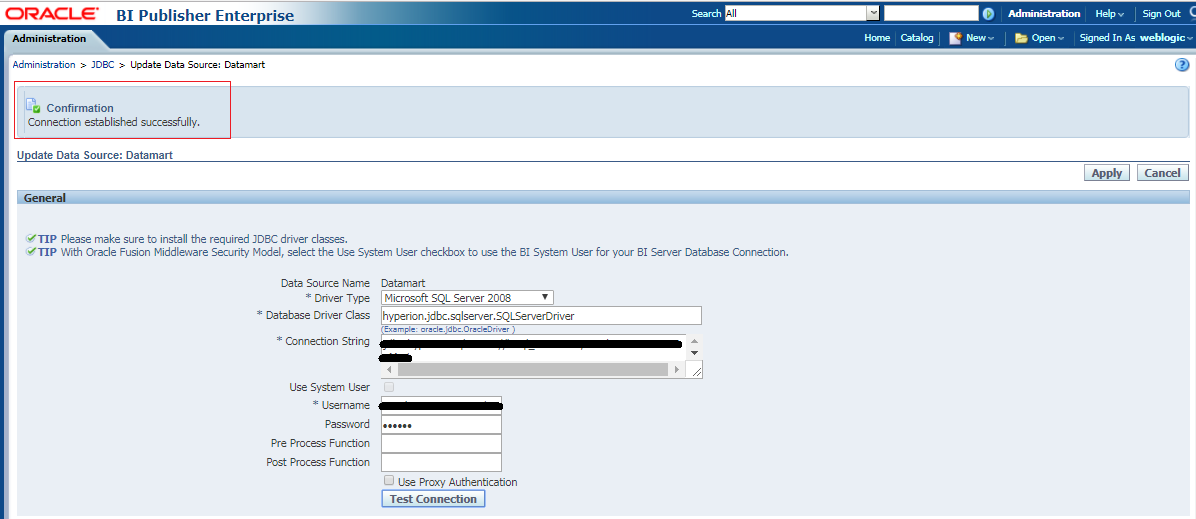
Make sure all the needed fields are populated and then click on the Test Connection button. You should get a confirmation on the top left of your administration screen as shown below.
Step 2: Data Model
The next step to creating a BI Publisher report is to create the data model where you define where the data will be extracted from, the parameters that are to be used, and the actual MDX/SQL queries.
Define Data Sets
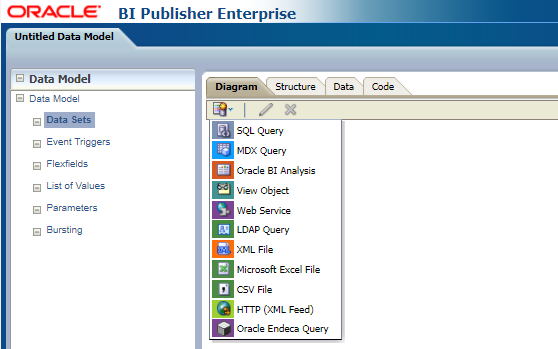
Whether creating a new data model or modifying an existing one, in order to add any new fields to your BI Publisher report you need to either add a data set by clicking the New Data Set button and selecting the type of query you will create, or edit an existing data set based on your business requirement.
Select the data source and write up your query. If you have parameters that the user will enter you will need to include those in your WHERE clause.
For calling and using Parameters in an MDX query use the following format:
[${number_variable}] or “${string_variable}”
For calling and using Parameters in a SQL query use the following format:
:variable
Once your data sets are ready and your joins defined it’s time to generate the sample data that will be used to build the RTF template.
Generate Sample Data
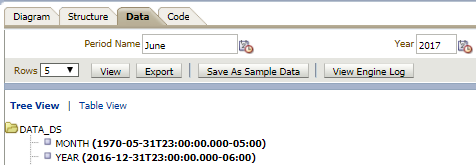
Click on the Data tab and enter the values for the parameters you have created. Select five rows in order to view a sample of the data, and then click on the View button.

If you find that you have the sample data you need from the values generated from the data sets click on “Save as Sample Data,” then export the data.
Step 3: RTF Template
Next, create the RTF template using Microsoft word. You will have to download BI Publisher Desktop from Oracle as the add-on to Microsoft Word.
Make sure to download the correct version of BIP and identify whether you are using a 32 or 64 bit Office on Windows.
Once installed successfully you should find the following BIPublisher tab add-on to MS word:

After the layout is created, it is now time to add in the fields previously created in your data model. First, we’ll need to import the data we just exported from the data model by clicking “Sample XML” and selecting our exported XML. This confirmation message should pop up:
The next step is to place the cursor in the document where you would like to place a field from your data set and click the 123 Field button. A window will pop up showing all the columns in each data set where you can select what you need for your development.
Calculations in RTF template:
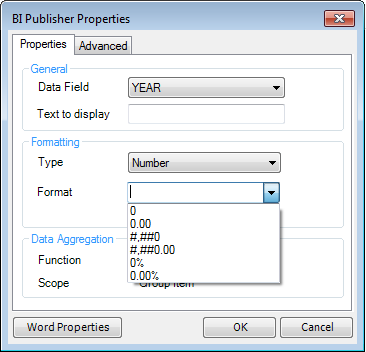
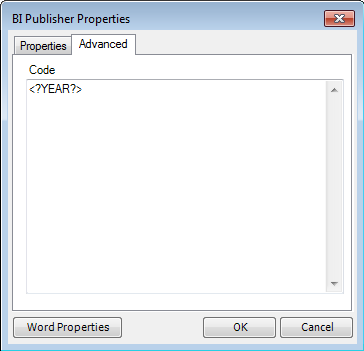
In order to add formulas to the fields in the RTF template either double click on the highlighted field or right click on the highlighted field and select BI Publisher > Properties. Using the Properties tab you can identify the type of the field you are selecting and the format of how the value will be displayed. Using the Advanced tab is where you can put in your field calculation formulas.
Speaking of calculation formulas, I thought I would take this chance to consolidate a few commonly used calculation formulas that can be used in your RTF fields here. We will be using extended XSL functions which have the following format: <?xdoxslt:expression?>
- Replace ‘#Missing’ with Numbers from Essbasea
As best practice always enclose your number fields from Essbase in the following format (where XXXX is your field name):
<?number(xdoxslt:replace(XXXX,’#Missing’,’0′))?>
The replace function syntax is: replace(string1,string2,string3)
String1 is the string to replace a sequence of characters with another set of characters.
String2 is the string that is searched for in string1.
String3 is optional, where all occurrences of string2 are replaced with string3 in string1.
- Addition
Addition is a pretty straight forward implementation in the RTF template. Using the same example above, the formula for field1 + field2 would look something like this:
<?number(xdoxslt:replace(field1,’#Missing’,’0′)) + number(xdoxslt:replace(field2,’#Missing’,’0′))?>
- Subtraction
Subtraction, just like addition is using the basic minus sign between 2 fields. So, the formula for field1 – field2 would look something like this:
<?number(xdoxslt:replace(field1,’#Missing’,’0′)) – number(xdoxslt:replace(field2,’#Missing’,’0′))?>
- Multiplication
Multiplication is denoted by the asterisk sign and the formula for field1 * field2 would look something like this:
<?number(xdoxslt:replace(field1,’#Missing’,’0′)) * number(xdoxslt:replace(field2,’#Missing’,’0′))?>
- Division
Division is a little bit different than the standard methods above. You start by using div, place the numerator, a comma, and then place the denominator. The formula for field1 / field2 would look something like this:
<?xdoxslt:div(
number(xdoxslt:replace(field1,’#Missing’,’0′)),
number(xdoxslt:replace(field2,’#Missing’,’0′))
)?>
- If Else
With division it is always a good idea to place a safety net in case your denominator is a zero. This is one of the great values the ifelse function brings in. The formula would look something like this:
<?xdoxslt:ifelse(xdoxslt:to_number(field2) != 0, xdoxslt:div(
number(xdoxslt:replace(field1,’#Missing’,’0′)),
number(xdoxslt:replace(field2,’#Missing’,’0′))
),0)?>
- Safe Divide
Another great option with Division is using the Safe Divide function. This function returns a specified value if the result of the function is not a number (NaN). The formula safe divide field1 over field2 and returning a string zero ‘0’ would look something like this:
<?xdoxslt:sdiv(
number(xdoxslt:replace(field1,’#Missing’,’0′)),
number(xdoxslt:replace(field2,’#Missing’,’0′)),
‘0’
)?>
You can find a complete list of functions in this Oracle document from the Report Designer’s guide for BIP.
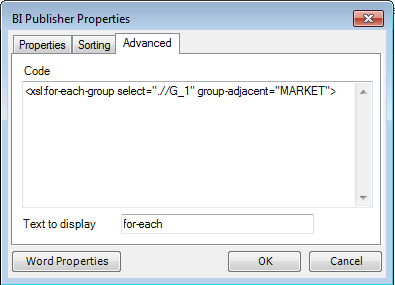
Another tip is you can have the results span over several pages. For example, you can place the metrics for each market in a page. This can be done by using the Repeating Group feature in the RTF template.
G1 is the name of the data set that contains the field “Market” which is where we want to have the grouping.
Finally, remember to save all your changes for the RTF template.

Step 4: Create the Report
The last step is to create the report based off the RTF template created and retrieving data from the data model you created.
Log into BIPublisher and click on New > Report
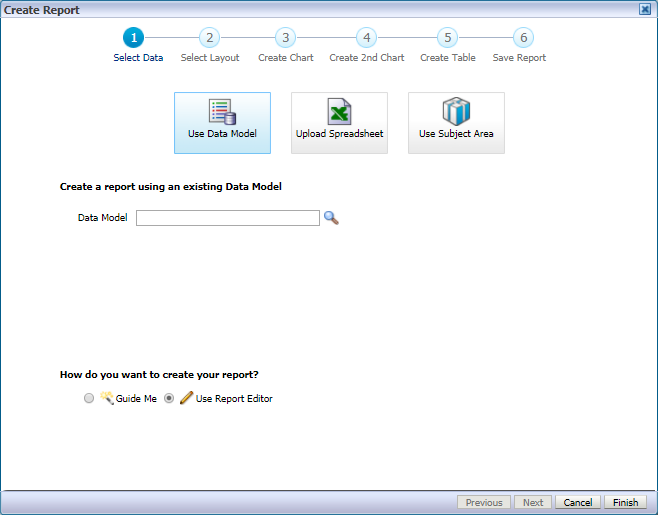
Browse for the data model you created or edited in Step 2 and select it. For this blog, we will not be using the Guide Me feature. Instead, select “Use Report Editor” and click the Finish button.
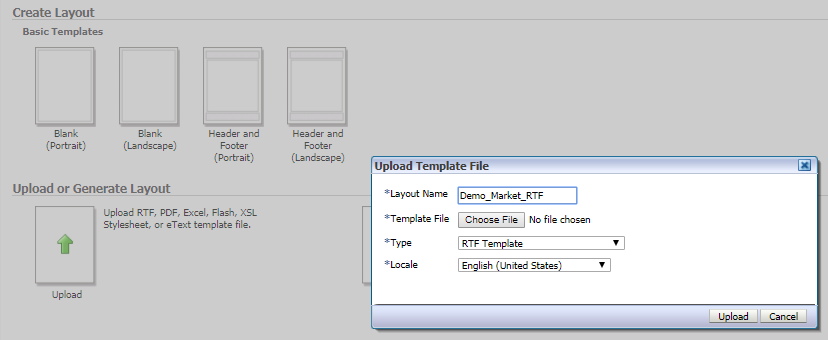
Then Upload the RTF layout created in Step 3. Enter the layout name, click on “choose file” and select the RTF template file. For Type select “RTF Template”, and finally, select your locale.
Once the template is uploaded, save the report and view your handy work.

Blog Author
Related Posts

How to Solve the Oracle Error ORA-12154: TNS:could not resolve the connect identifier specified
The “ORA-12154: TNS Oracle error message is very common for database administrators. Learn how to diagnose & resolve this common issue here today.

Data Types: The Importance of Choosing the Correct Data Type
Most DBAs have struggled with the pros and cons of choosing one data type over another. This blog post discusses different situations.

How to Recover a Table from an Oracle 12c RMAN Backup
Our database experts explain how to recover and restore a table from an Oracle 12c RMAN Backup with this step-by-step blog. Read more.