Get Started with Microsoft Azure SQL Database
Author: JP Chen | 4 min read | October 12, 2016
Azure SQL Database is a cloud-based relational database service from Microsoft. It is Microsoft’s answer to Amazon RDS for SQL Server. Both Azure SQL Database and Amazon RDS for SQL Server are examples of the Database-As-A-Service (DBaaS) model where the service providers are responsible for the installation and maintenance activities in addition to hosting. Similar to paying your utility company, you are charged according to your usage of the service.
Some of disadvantages of Azure SQL Database, as of October 2016, include inability to fully control network performance issues, no control over how physical resources are managed, and the lack of availability of some SQL Server features such as Windows Authentication and SQL Server Agent/Jobs to name a few. However, its main advantages such as low startup costs, self-service, and easy management make it extremely attractive for small and enterprise businesses alike.
In this blog, we will quickly explore how to open an Azure account, create a database and server, create a new Azure SQL Server-level firewall, and finally connect to Azure SQL Database via SQL Server Management Studio (SSMS). We will explore more advanced features and DBA administrative tasks in future blogs.
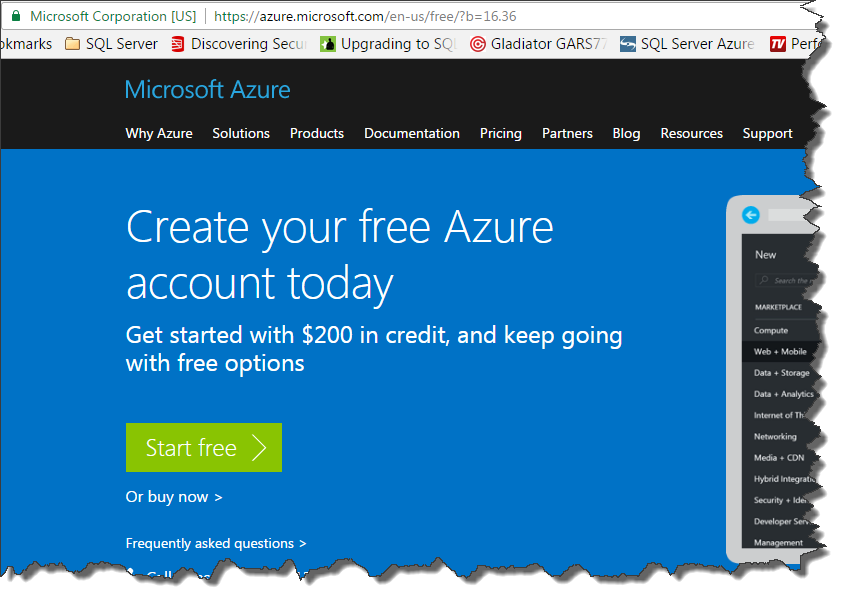
Step 1: Create your free Azure account. Skip this step if you already had an Azure account.
1. Go to https://azure.microsoft.com/en-us/free/
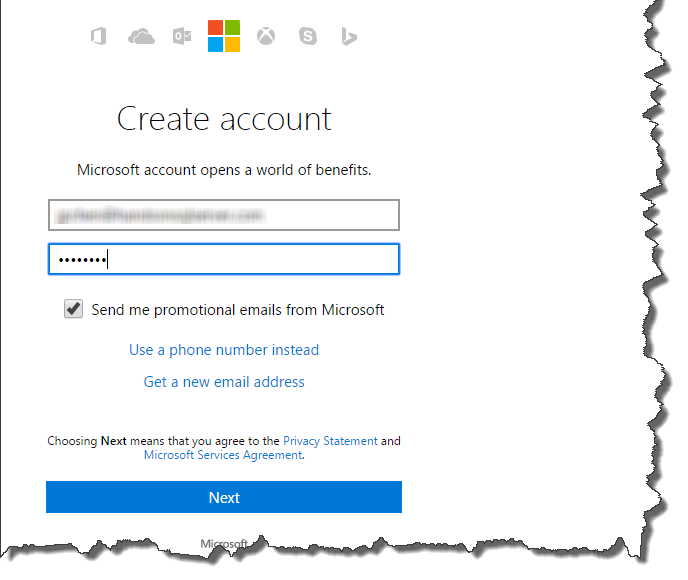
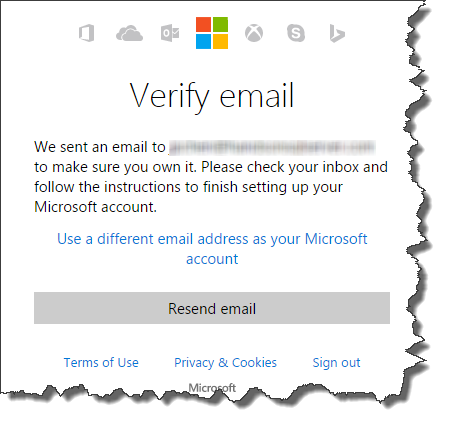
2. Submit your email address. Microsoft will send you a verification email you need to check.
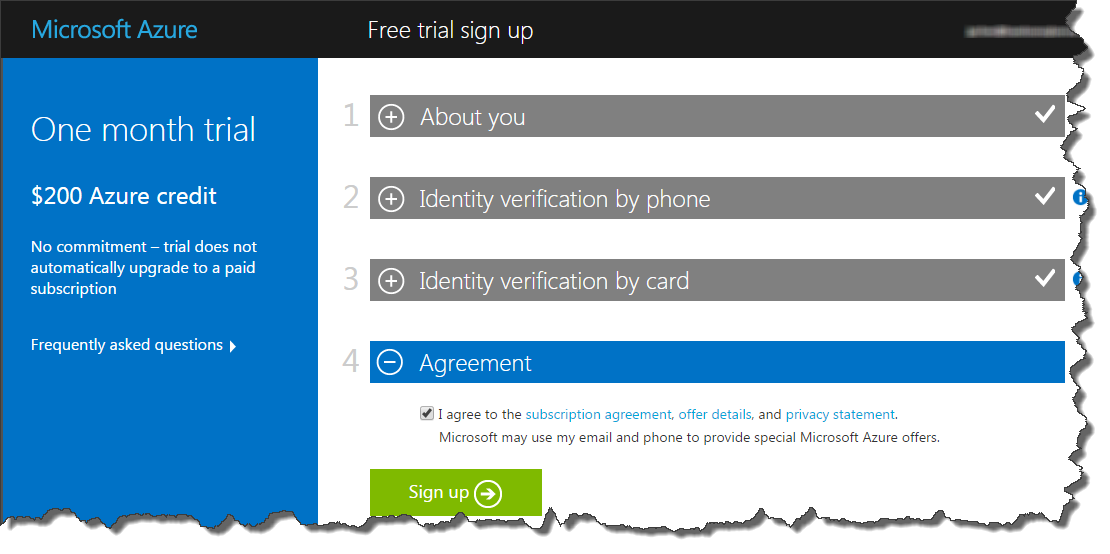
3. Sign up by filling in your information. Make sure you have your cell phone handy as you will need to receive a text message validation and reply to Microsoft to confirm. You will also need a credit card and you’ll be asked to agree to the subscription agreement.
Step 2: Create a database and server.
1. Logon to the Azure portal page https://portal.azure.com with your Azure account.
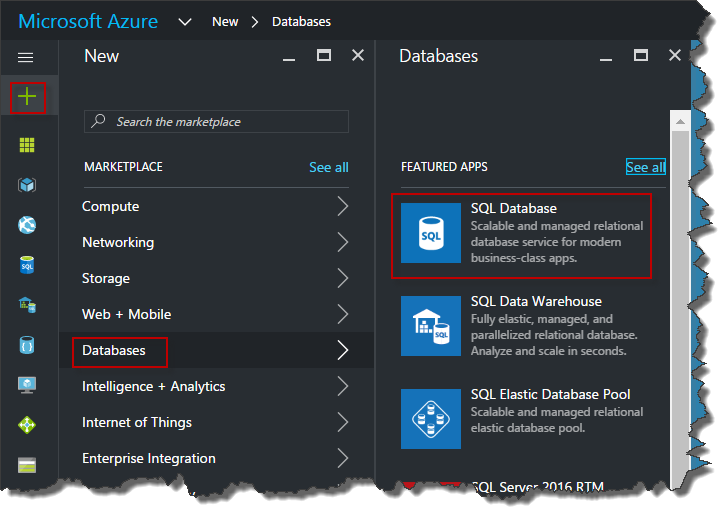
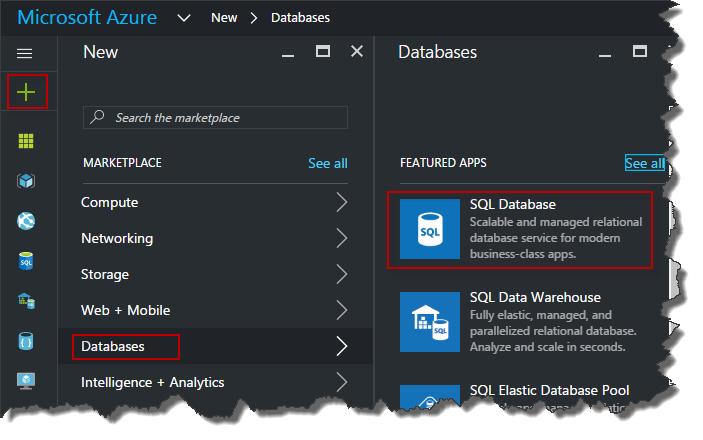
2. Click on the + symbol > Databases > SQL Database as shown in the following screen shot:
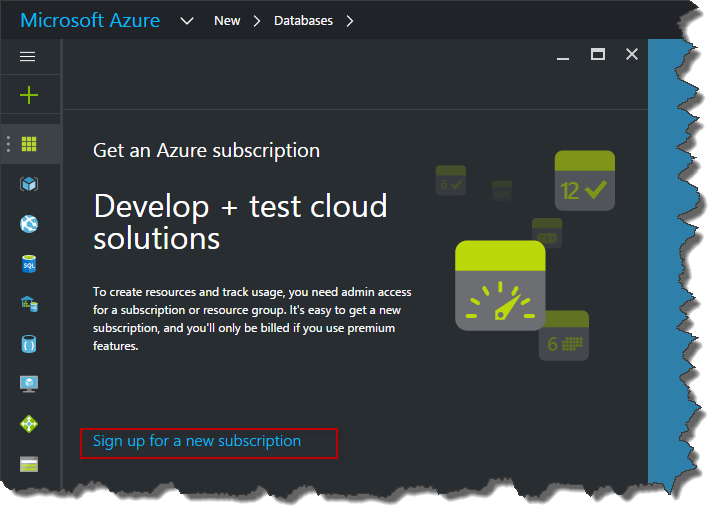
3. Sign up for a new subscription if it appears as shown in the following screen-shot:
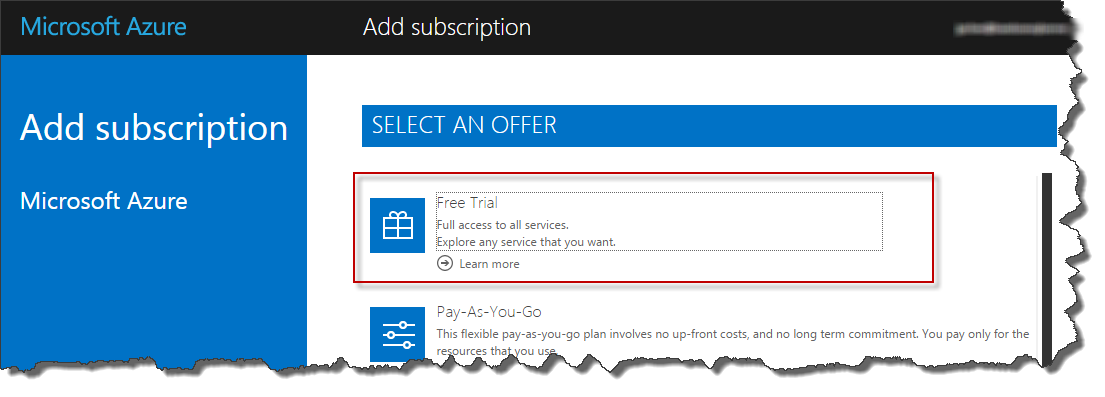
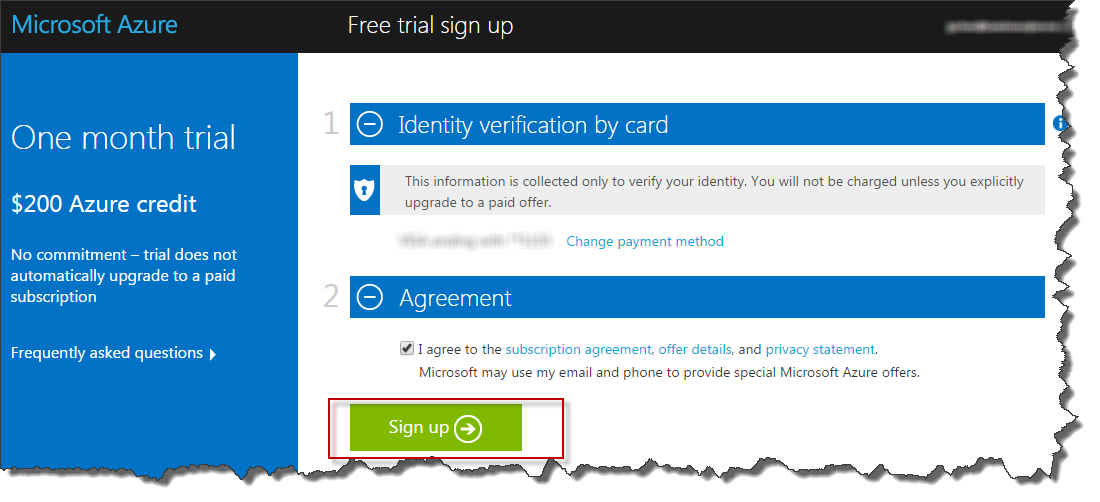
4. Choose the “Free Trial”:
5. Agree and sign up:
6. Click the + (New) button again if needed > Databases > SQL Database:
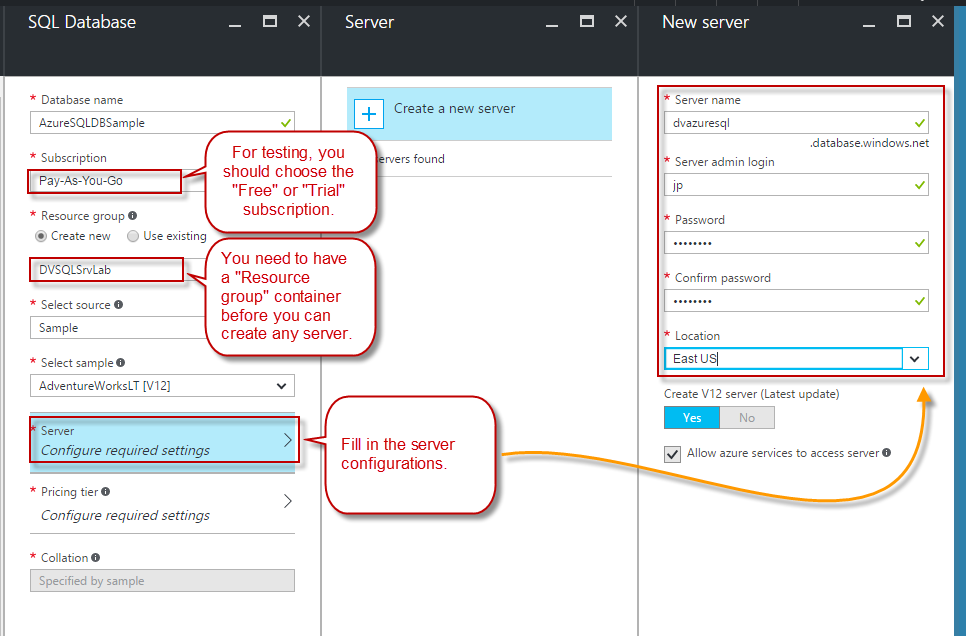
7. Fill in the database name, choose the subscription (the free one if you are testing), name your new resource group, select the sample database, and key in the server configurations:
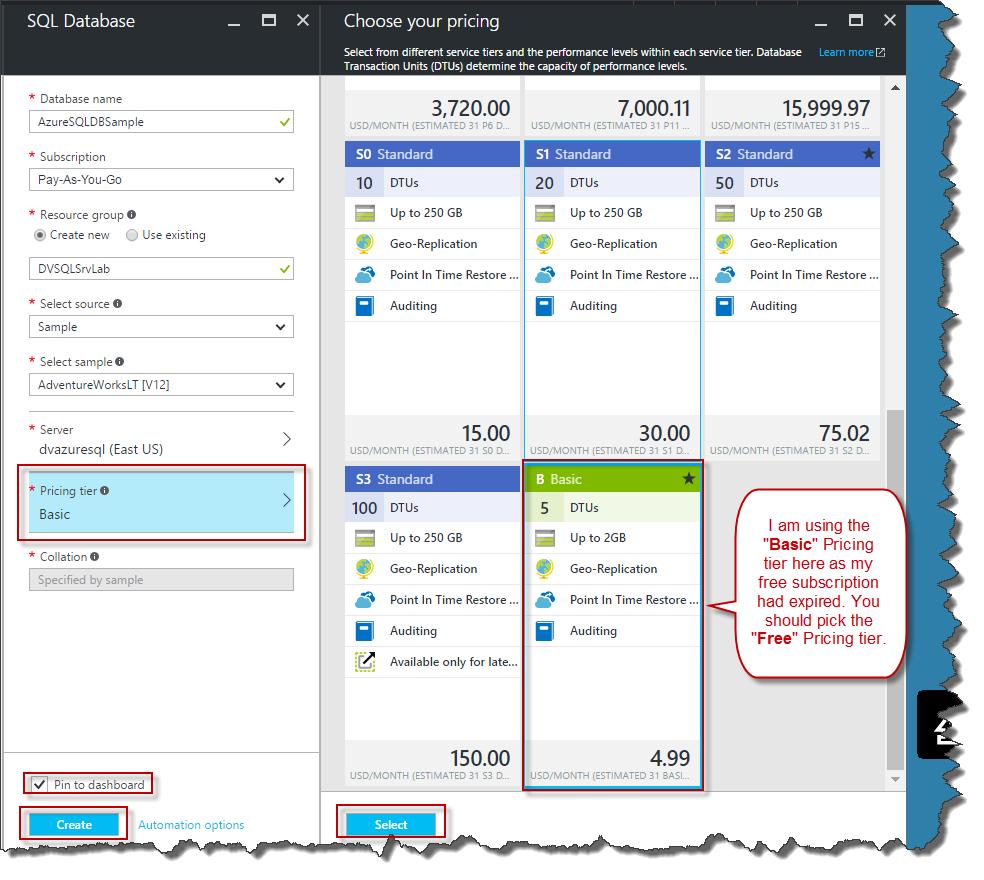
8. Select the “Pricing tier”, choose the free one, and then hit “Create”.
Note: Make sure you select the “Free” or “Trial” one. My free/trial subscription had expired as I had tested Azure SQL more than a year back.
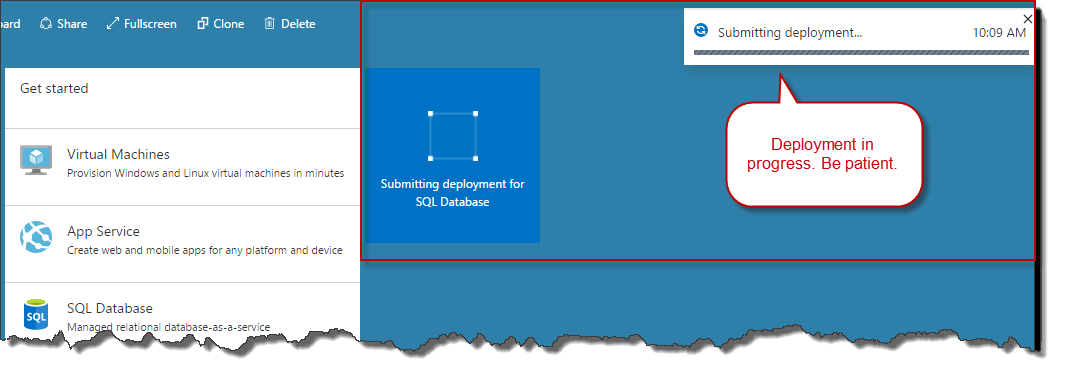
9. Deploy. Azure will start the deployment. You just need to sit back and enjoy the show.
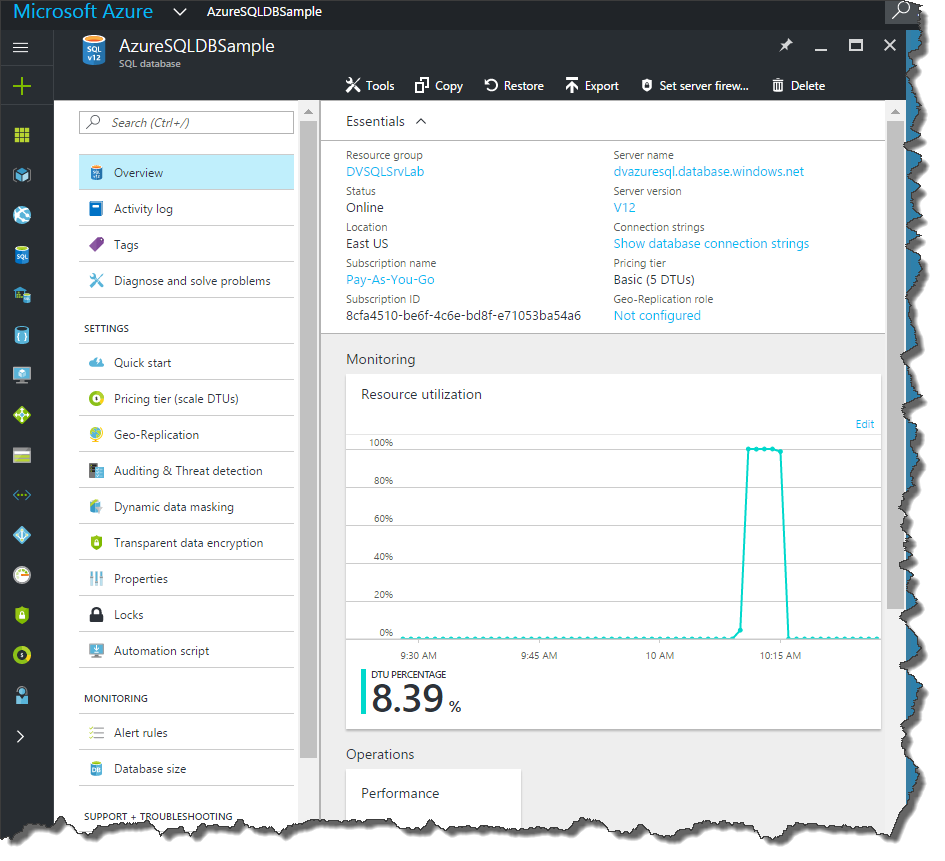
10. Done. Confirm the “Essentials” to make sure they are as you had requested.
Step 3: Create a new Azure SQL Server-level firewall.
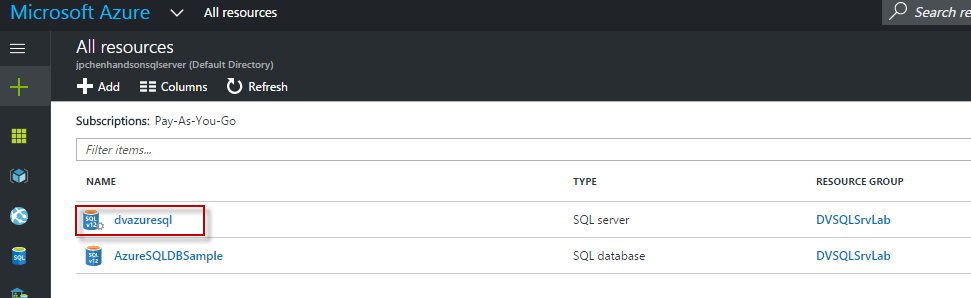
1. Click on the “All Resources” symbol to see the server and database we had just created.
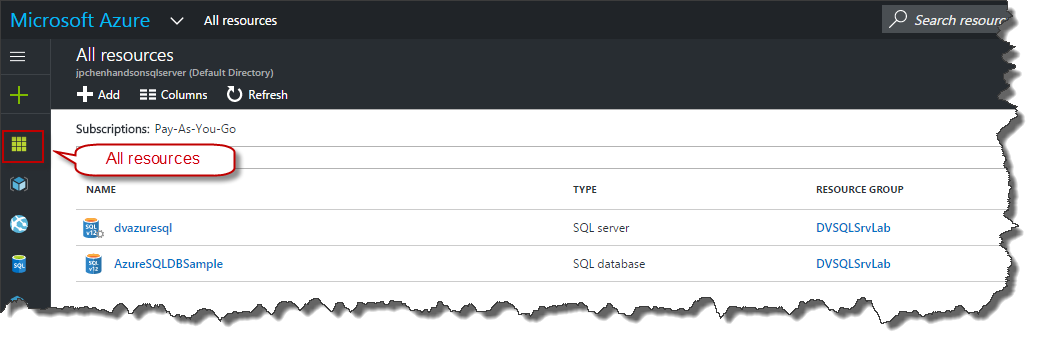
2. Click on the SQL server we created. Yes, it is lower case in “server”. In this example, “dvazuresql”:
3. Click on “Firewall” on the newly expanded “blade” (pane). Yes. Azure calls these panes “blades” now.
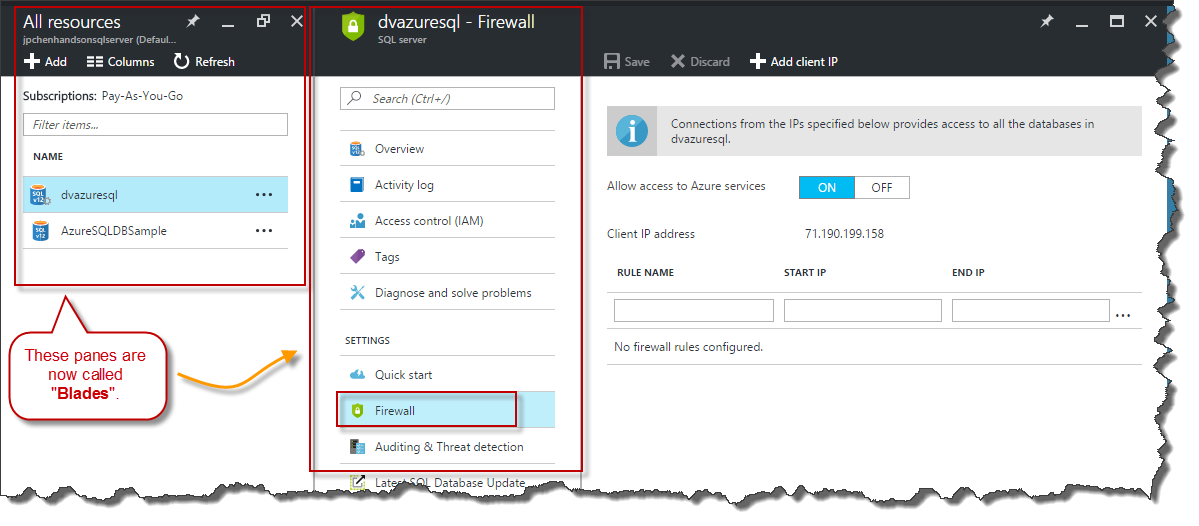
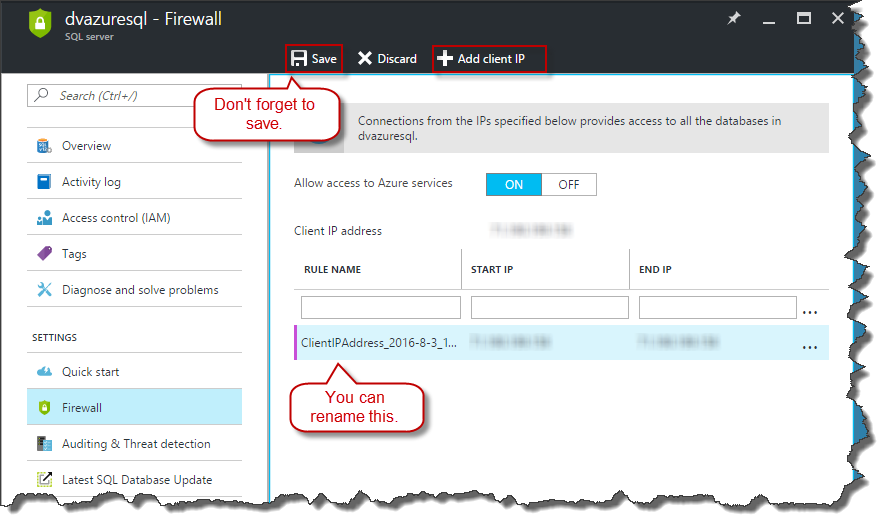
4. Click on “+ Add client IP”. For this test example, we are adding only our client IP address. You can speak to your Network team to get a range of IP addresses to add, if needed. You can rename the firewall rule to your heart’s content. Don’t forget to save once you are done.
Step 4: Connect to Azure database via SQL Server Management Studio (SSMS).
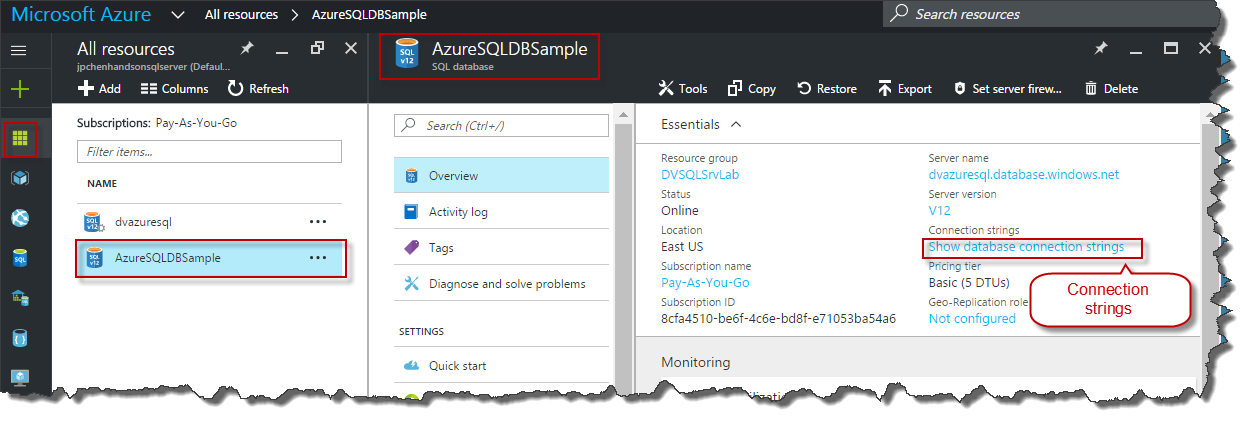
1. Locate and click on “Show database connection strings” from the SQL database blade. In this example, it is on our “AzureSQLDBSample SQL database” blade:
2. Click the “Copy” symbol on the ADO.NET (SQL authentication) section to copy the connection string:

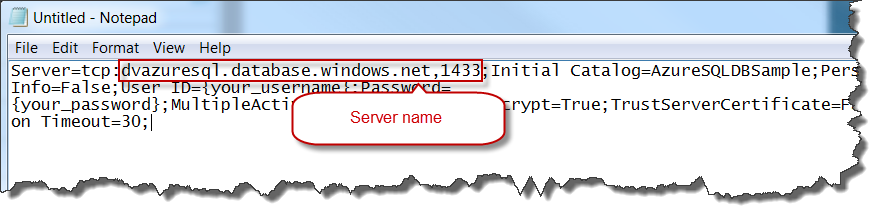
3. Open Notepad and paste the connection string.
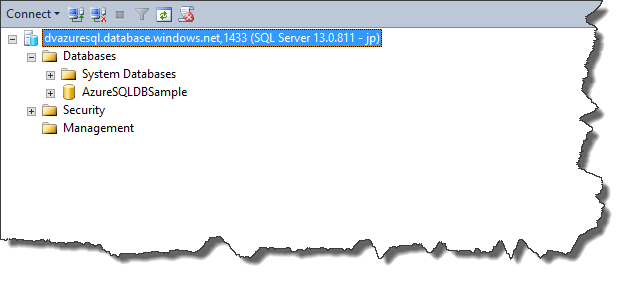
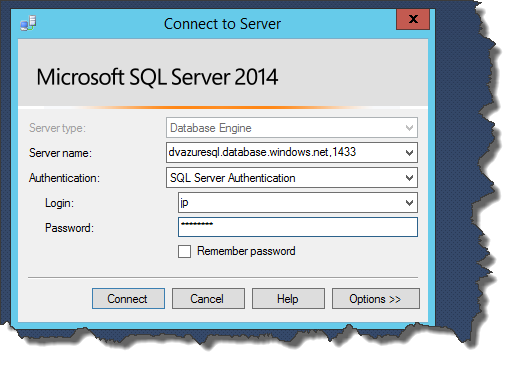
4. Copy the server name and port number from Notepad. In our example, it is dvazuresql.database.windows.net,1433
5. Open SQL Server Management Studio (SSMS) from your desktop or on one of the on-premise SQL Servers and connect to the Azure SQL database instance by specifying the server name plus port number and key in your user name and password:
6. Pat yourself on the back. You did it!